In the previous article, titled Building a Build Server – Installing Jenkins on OS X, we installed Jenkins on OS X, so that we can start building iOS applications automatically. In this article, we are going to set up the rest of the tools so that Jenkins can build the iOS applications.
Installing Xcode and the Command Line Developer Tools
Xcode is the official development tool of Apple and it is used to develop iOS and OS X applications. We are going to use it during the installation of MacPorts and the Xamarin environment uses it for different tasks, including the iOS simulator during the development of the iOS apps.
|
Open the App Store by clicking on its icon from the Dock. |

|
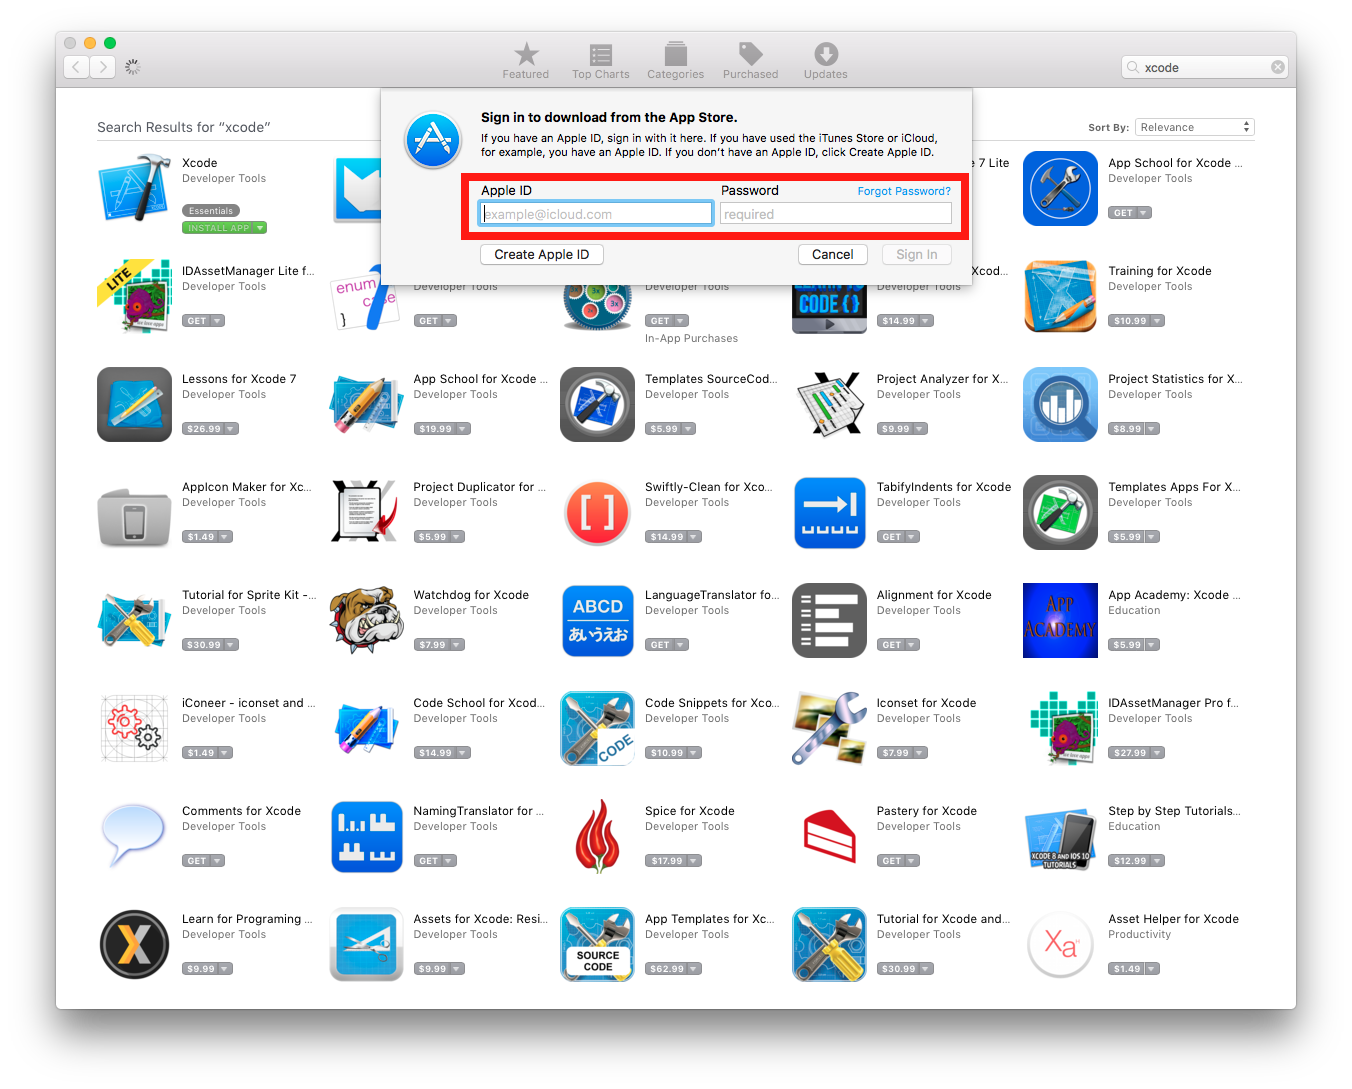
Look for Xcode by entering it on the search bar and then install the application. |
|
When asked for the Apple ID either enter it or create a new one. |
|
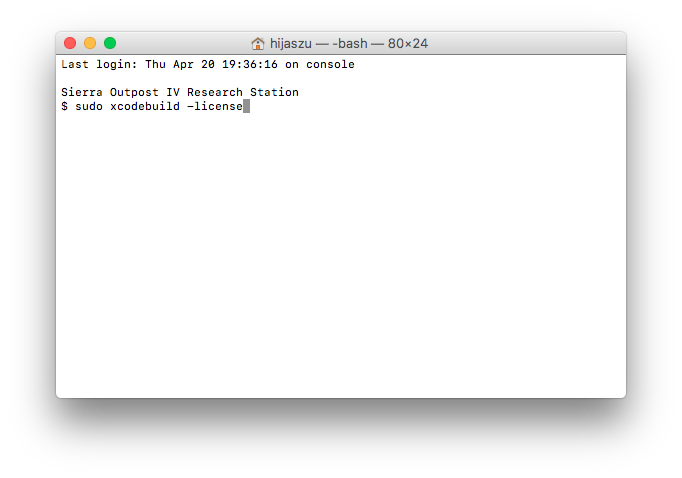
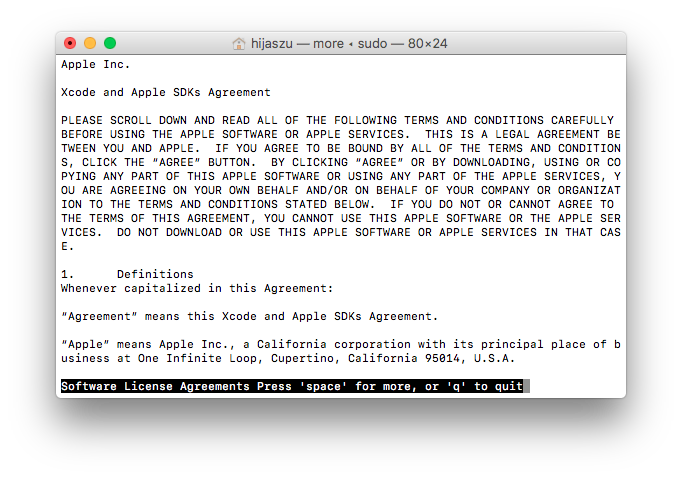
After Xcode is installed, start a terminal. In case of doubt it is documented in the article Building a Build Server – Installing Jenkins on OS X. Start the license accept process by typing sudo xcodebuild -license |
|
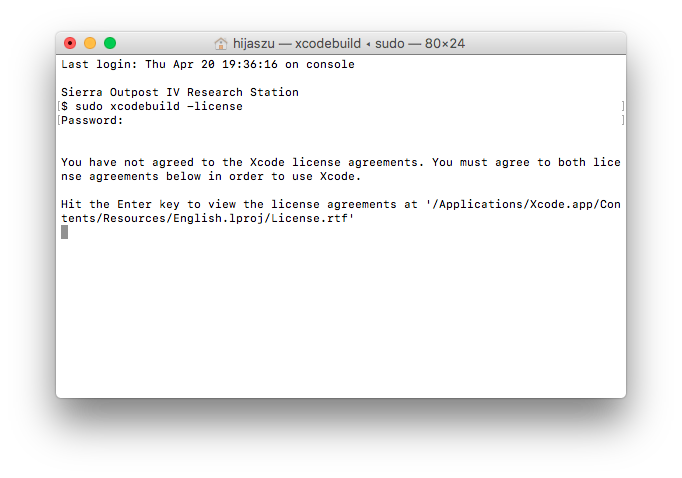
Hit enter to display the license. |
|
Read through the license and press the Q key when finished reading it. |
|
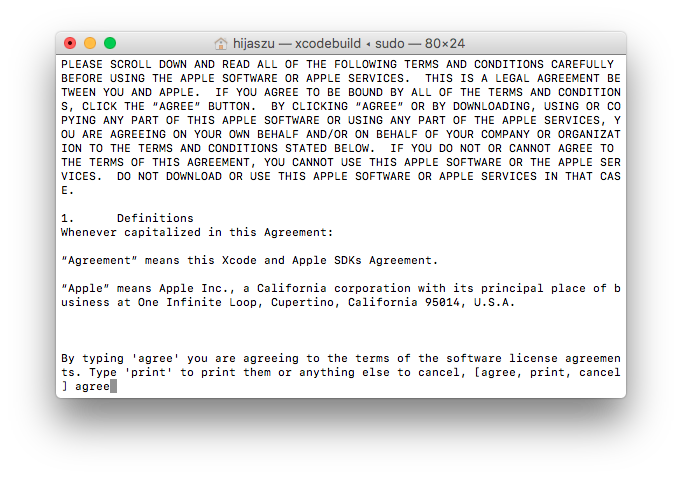
Type agree and press enter to accept it. Alternatively, you can also print it or cancel. |

|
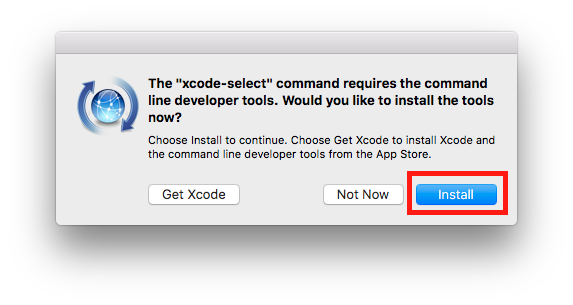
After accepting the Xcode license, we also need to install the command line utilities. Type sudo xcode-select –install. |
|
When asked if you really want to install the command line developer tools, click Install. |
|
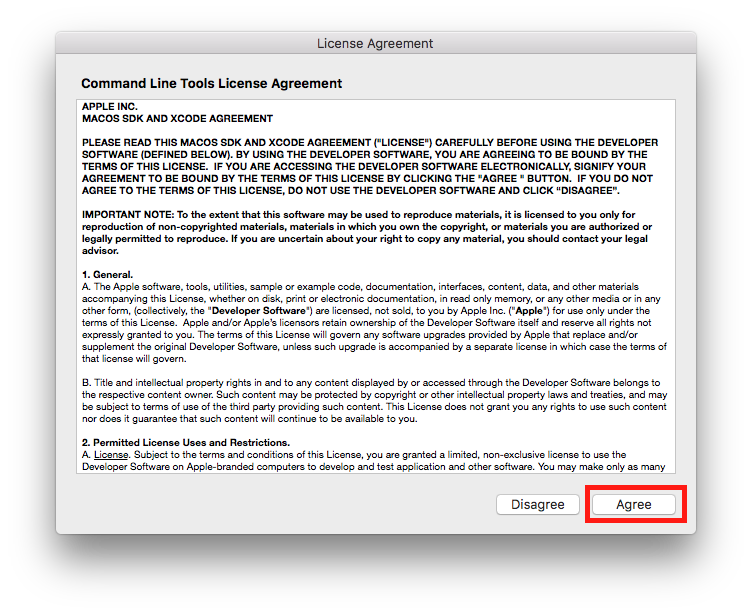
Read through the license and click Agree to continue with the installation. |

|
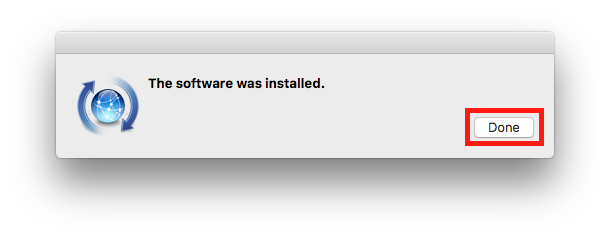
Wait until the install process finishes. |
|
When the package is installed, press Done to finish the process. |
Installing MacPorts
MacPorts is one of the Unix tool package management systems for OS X. We are going to use it to install different command line Unix tools for different purposes on the build server. If you feel comfortable with other port management system, feel free to use that.
|
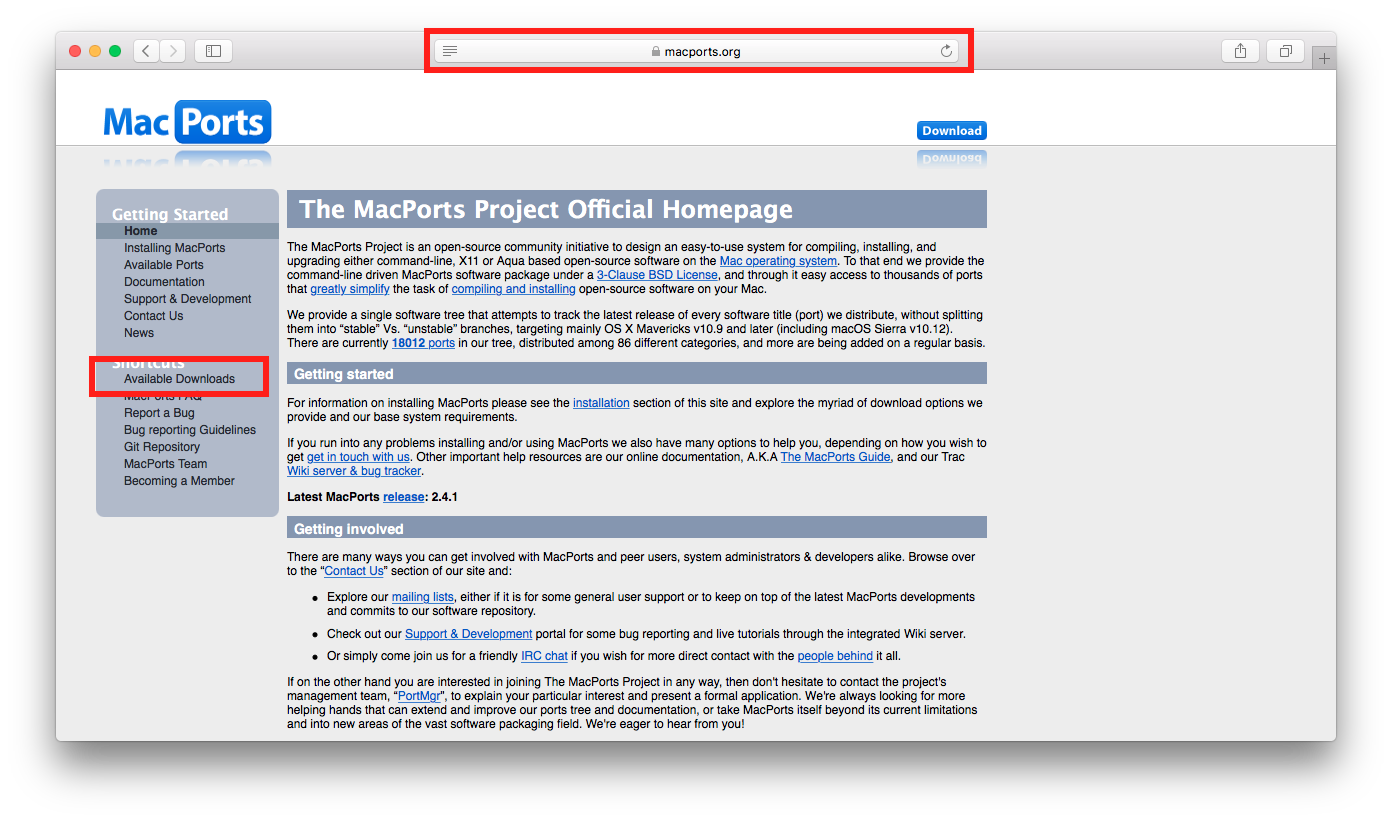
Start the installation process by navigating to https://macports.org. There, select the Available Downloads link. |

|
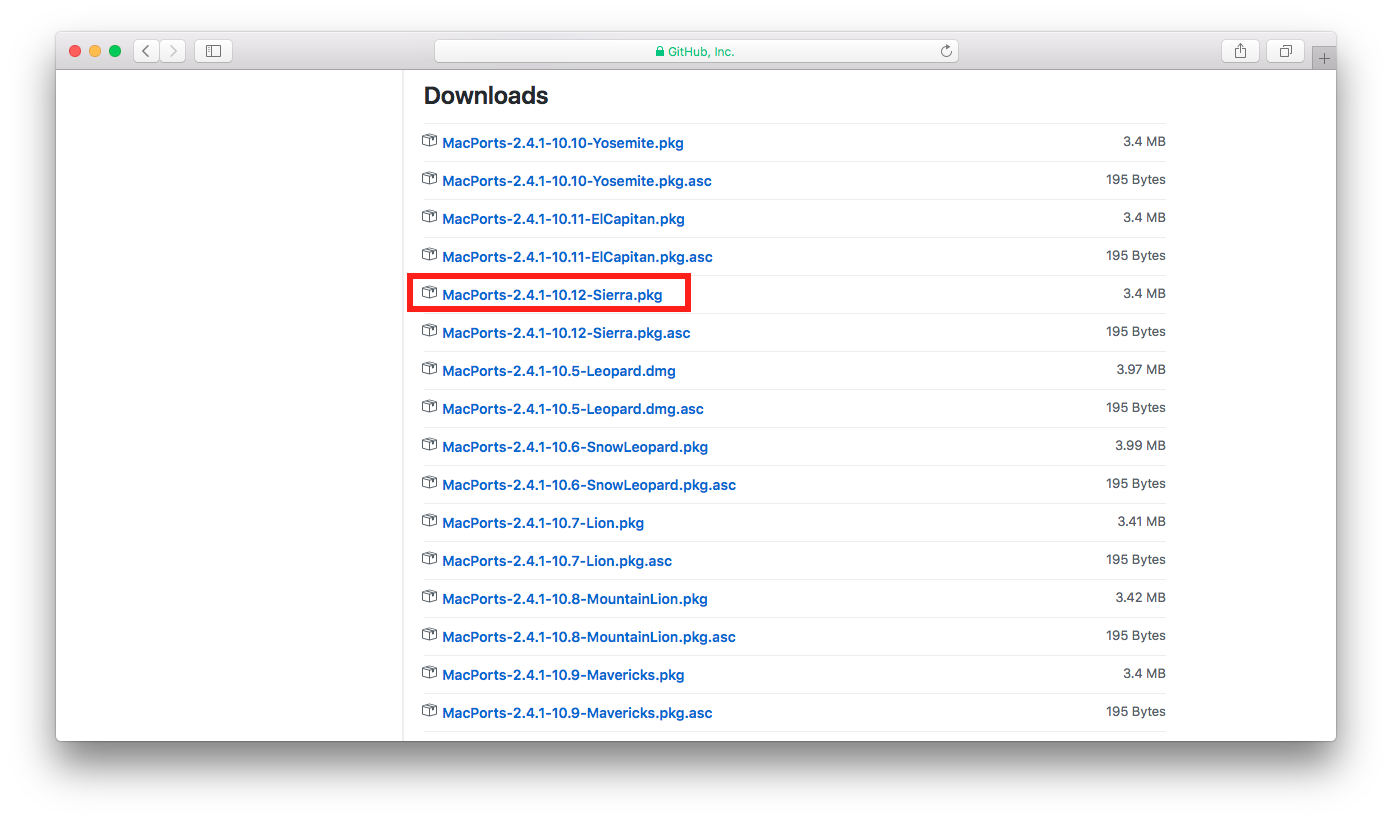
On the download page, scroll down the page to the installer files. |
|
Select the package appropriate to your OS X operating system. On the experimental system used to research the article materials, I’m running Sierra, so I selected the MacPorts-2.4.1-10.12-Sierra.pkg. |
|
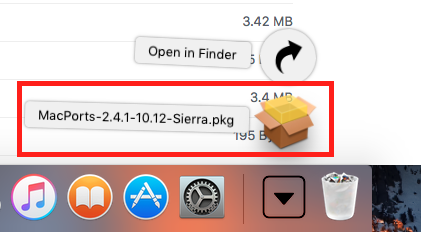
When the package is downloaded, start the installation process by clicking on it. |
|
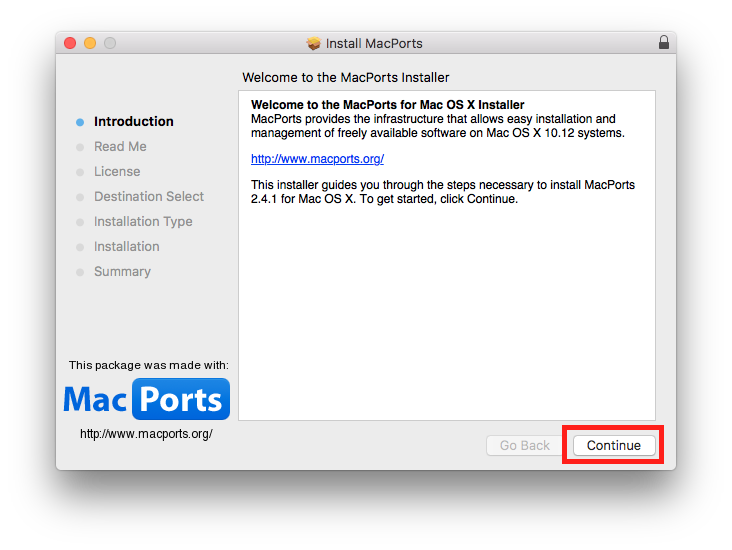
On the Introduction screen, click Continue. |
|
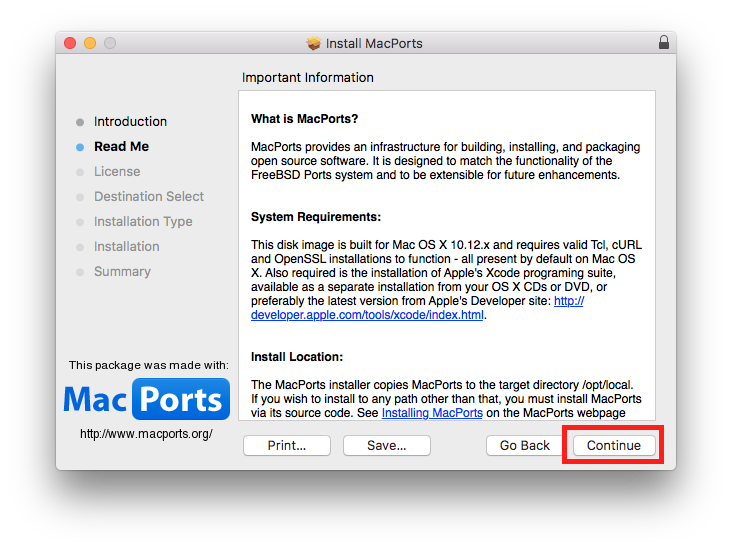
On the Read Me screen, click Continue. |
|
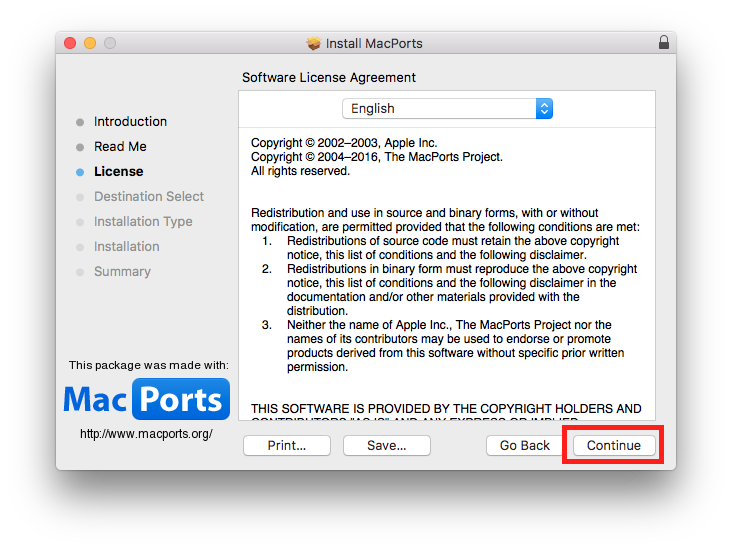
On the License screen, read the license and click Continue if you agree. |

|
Click Agree to accept the license. |

|
On the Installation Type screen, check the installation location and the click Install to install the package. |
|
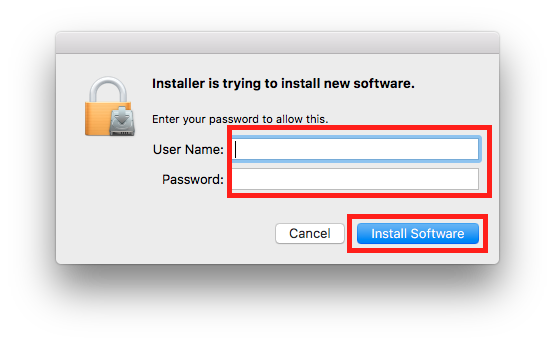
When asked for the administrative user and password, provide the information and click Install Software. |

|
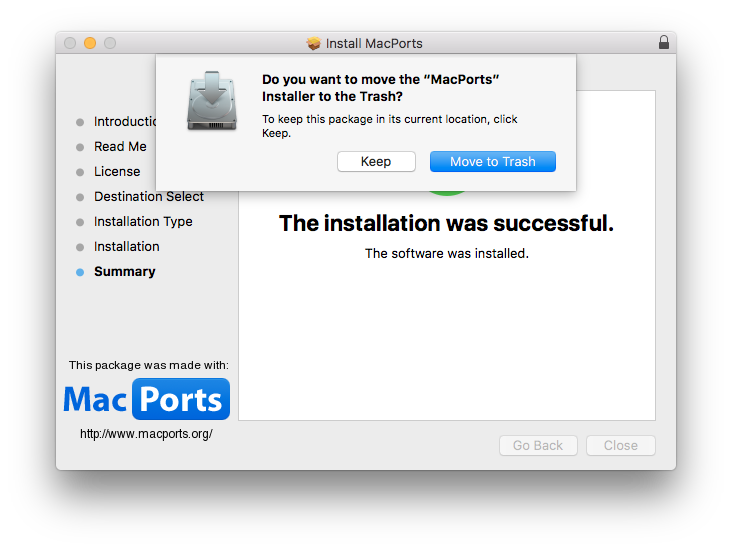
After the installation process is complete, click Close to finish the installation. |
|
When asked if you want to keep the installer package around, select the option you like. |
Installing Xamarin
The Xamarin tools are used to build the iOS application from the C# source code.
|
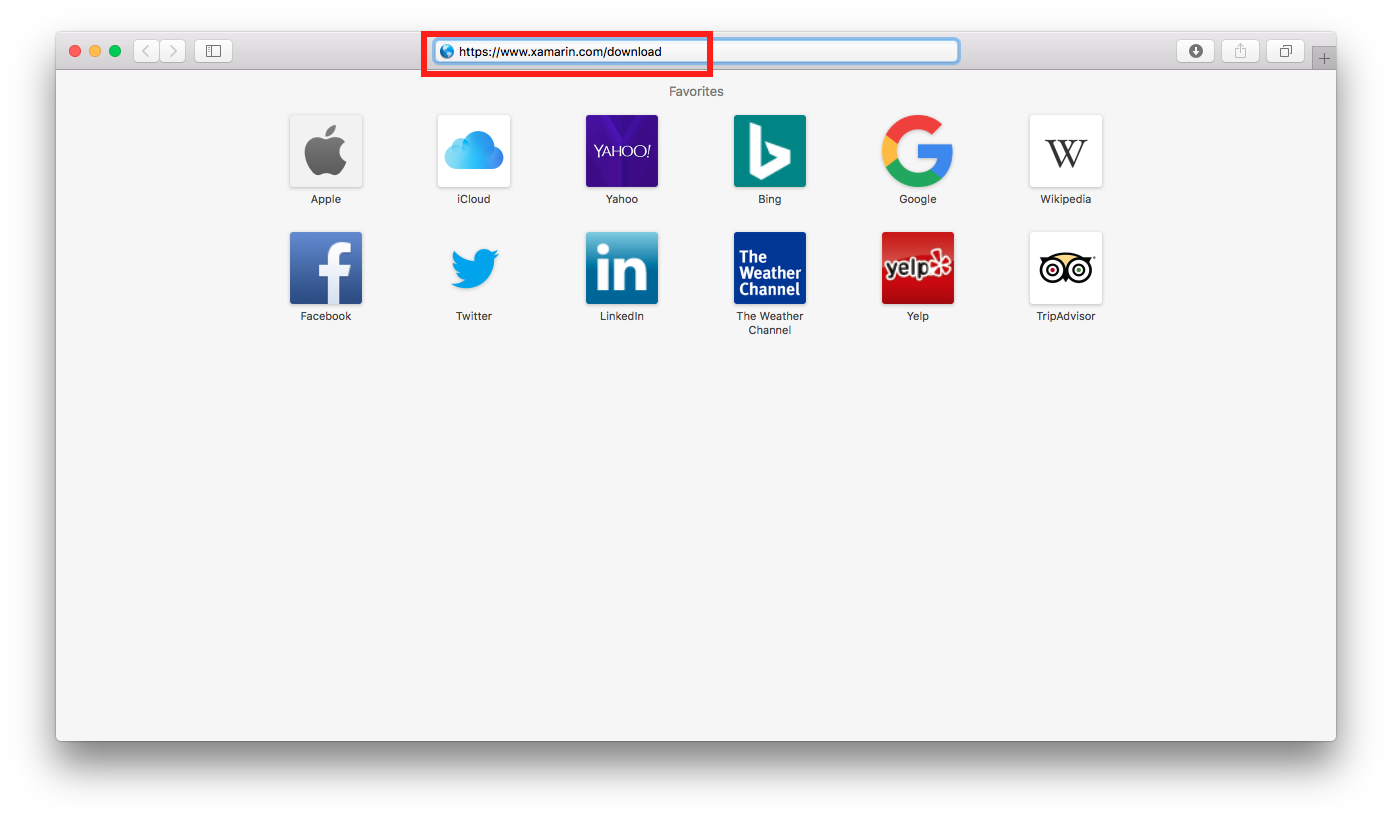
Start the installation process by navigating to https://www.xamarin.com/download. |

|
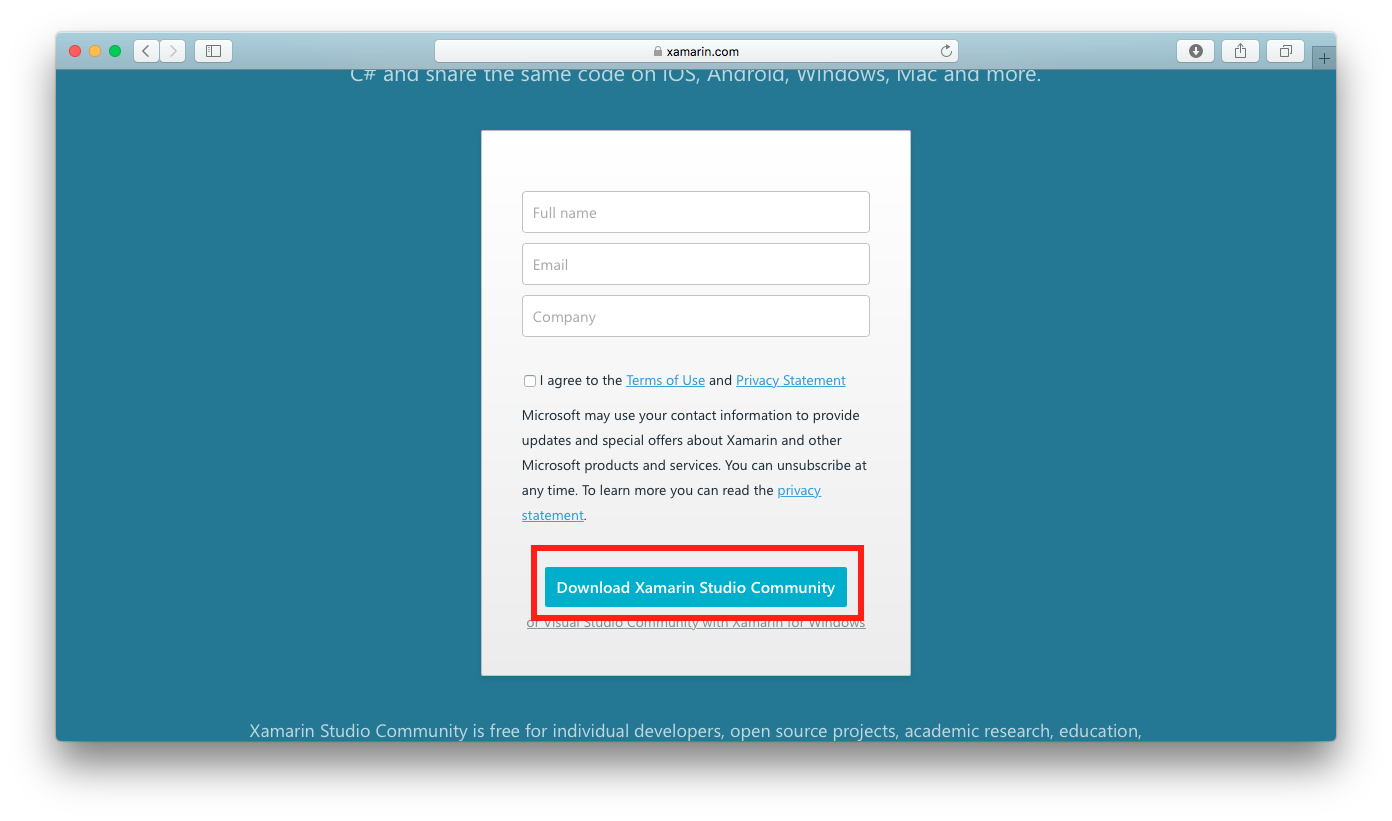
Fill in your information and scroll down on the page. |
|
Click on the Download Xamarin Studio Community button. |

|
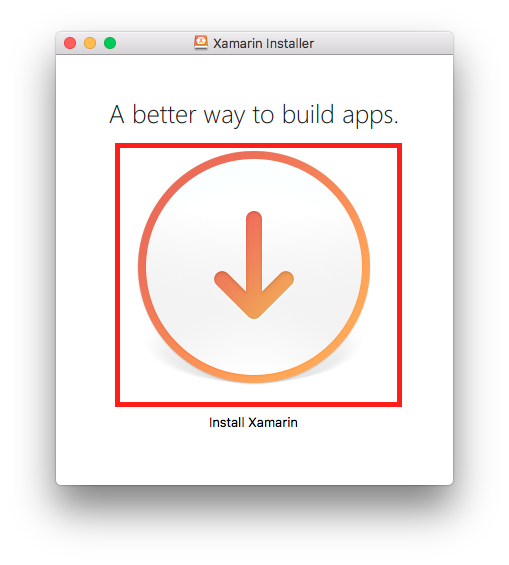
After the package is downloaded, start the installer by clicking on it. I renamed my file to not to show the numbers from the filename because I don’t know if that is associated with my private data or not. |
|
Click on the big Install Xamarin button. |

|
When warned that the application is downloaded from the Internet, click on the Open button. |
|
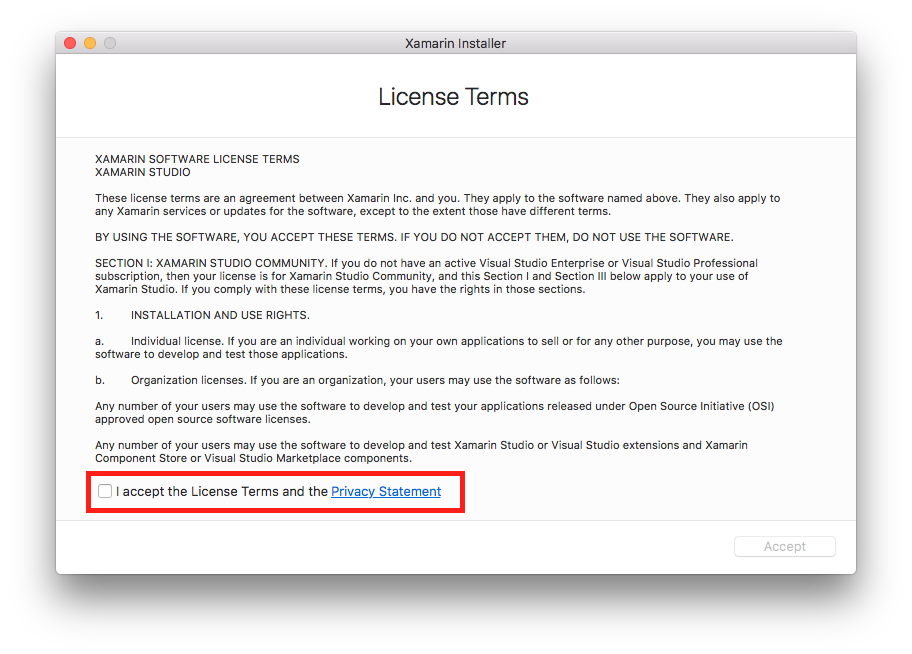
Read the License Terms and then tick the I accept the License Terms and Private Statement checkbox. |
|
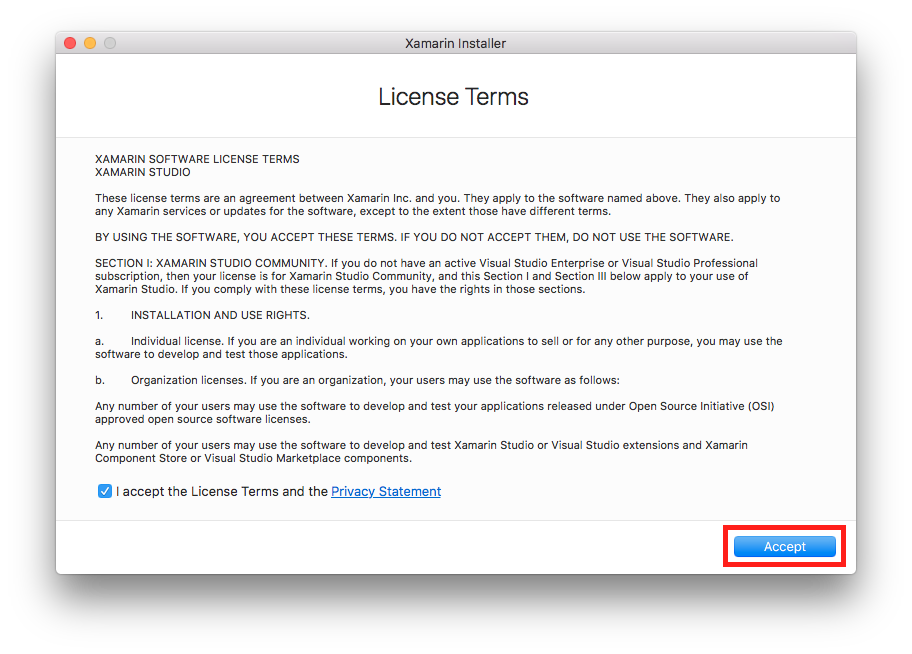
Click on the Accept button. |

|
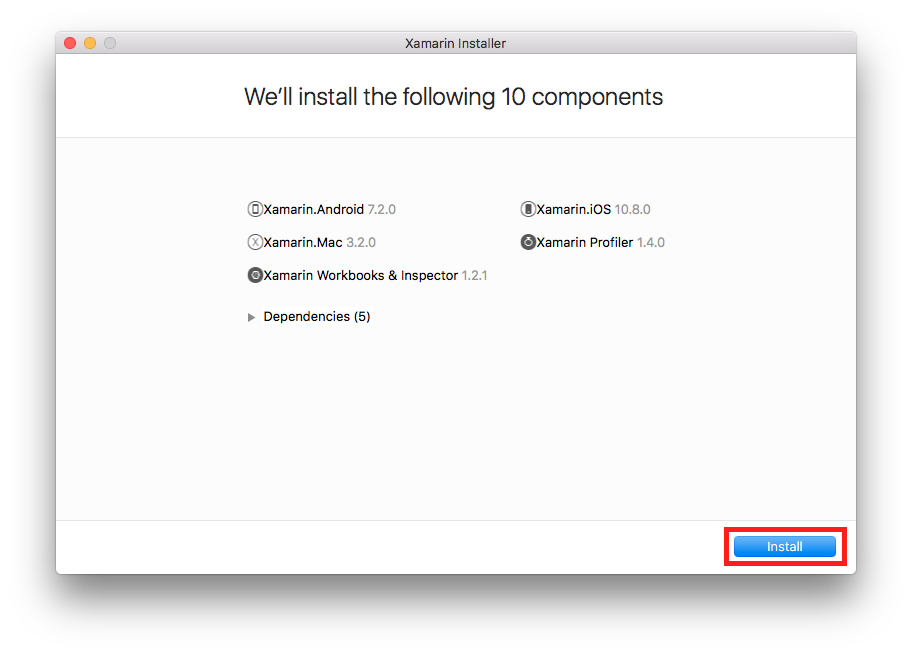
Select the components that you would like to install and the click on the Continue button. |
|
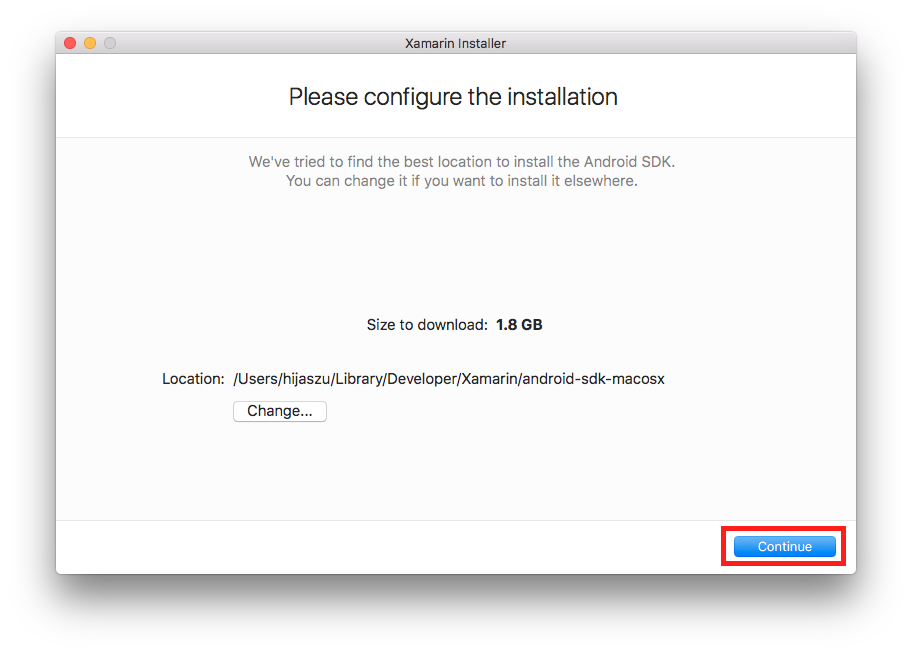
Select the installation location for the Android SDK and then click on the Continue button. |
|
Approve the installation of the components by clicking on the Install button. |

|
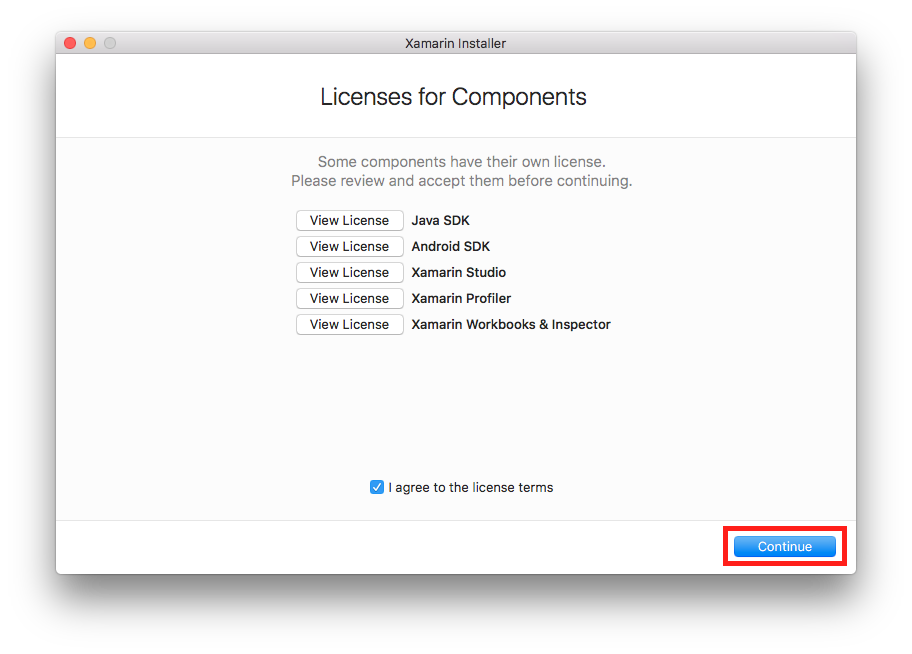
Read the individual licenses of the components and then tick the I agree to the license terms checkbox. |
|
Click the Continue button. |
|
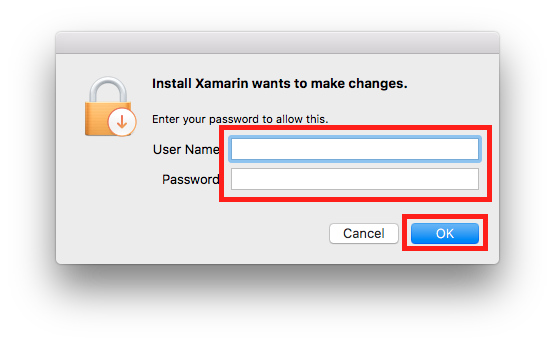
During the installation, you will be asked several times to provide administrative rights to the installer. Provide the necessary information and click on the OK button. |
|
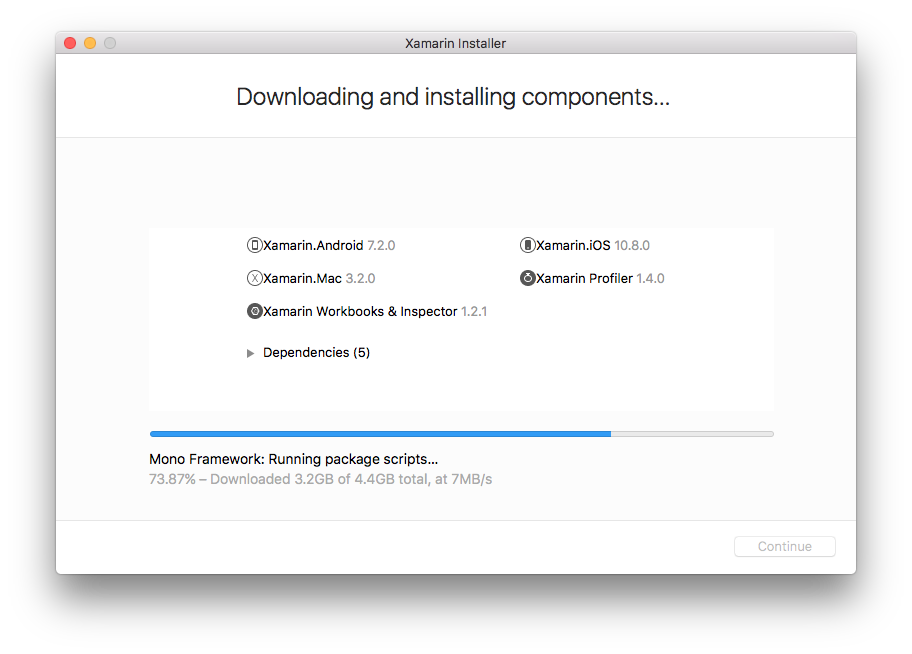
Wait until the installation process finishes. |
|
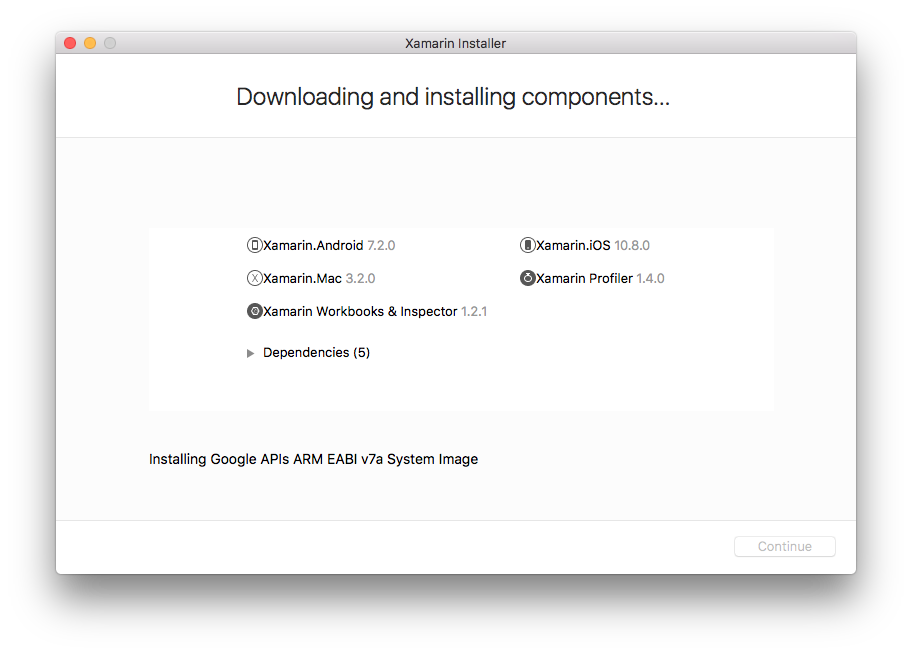
The Google API installation will seem to be stuck, but keep waiting until it finishes. |
|
After the installation process finishes it will open the Xamarin University page. |

|
Switch back to the installer application and click Quit to exit the installer. |
Testing the server with a build project
Source Code Management
Use Git source code management with
|
Repositories |
|
|
Repository URL |
|
|
Branches to build |
|
|
Branch specifier (blank for ‘any’) |
*/master |
|
Repository browser: |
(Auto) |
Build
|
Execute shell |
|
|
Command |
/Library/Frameworks/Mono.framework/Versions/Current/bin/xbuild JenkinsHelloWorld.iOS.sln /p:Configuration=Debug /p:Platform=iPhoneSimulator |
You can connect with me on LinkedIn, Twitter or you can register on the blog. Share if you found this article useful or know somebody who would benefit from reading it.
No comments yet.