Last week, we downloaded the Windows 10 ISO image to be used to create test environments automatically from Jenkins. This week, we are going to set up a Virtual Machine on which next time we will install the operating system.
To create a virtual machine in the Hyper-V program, follow these steps:
|
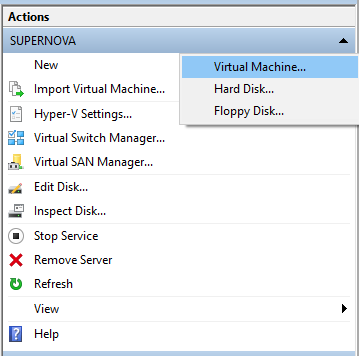
After starting the Hyper-V Manager application, from the Actions menu on the right, select New and Virtual Machine… |
|
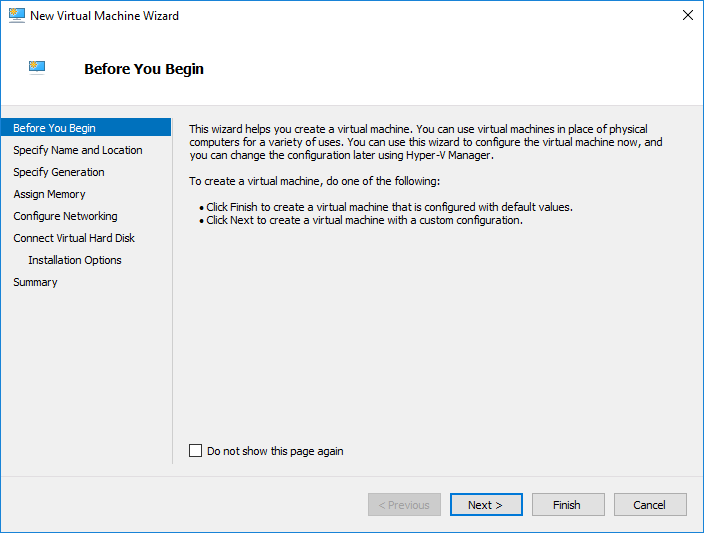
Click Next on the Before You Begin page. |
|
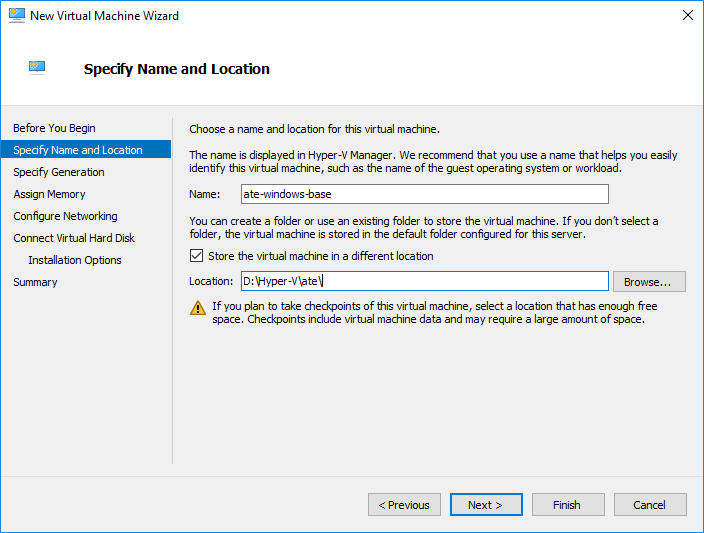
On the Specify Name and Location page give a name to your virtual machine and for the location select a storage space for the machine. I gave my virtual machine the name ate-windows-base and I decided to store the files under D:\Hyper-V\ate\. This will later count when we are creating scripts for the automatic provisioning of the system. This configuration will result in that the main directory for the virtual machine is under D:\Hyper-V\ate\ate-windows-base. |
|
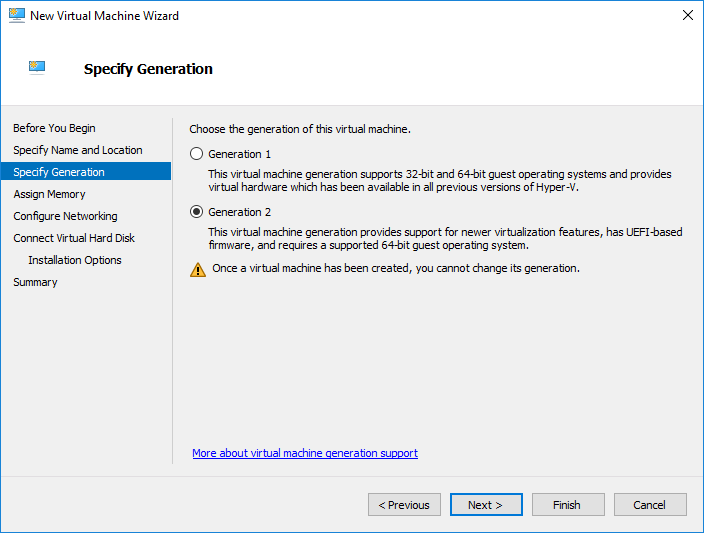
On the Specify Generation page, select Generation 2 for your virtual machine, except if you have a 32-bit operating system for the test environment. Having a 32-bit operating system is highly unlikely these days, please let me know in the comments below what can it be, as I tried to think it out but have no idea. Embedded devices come to my mind, but even those supported by the Hyper-V system are running 64-bit operating systems. |
|
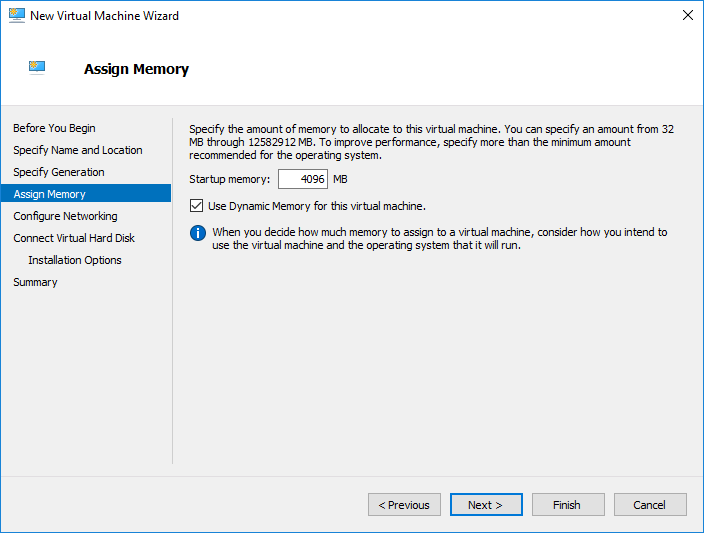
On the Assign Memory page, select an initial 4096 MB memory for the Windows system and check the Use Dynamic Memory for this virtual machine option. Here you must be aware that the memory you assign as startup memory, must be free when you try to boot up the virtual machine, otherwise Hyper-V will refuse it. Having a notebook computer with the general 8 GB of RAM will most likely get you as far as trying things out with unusably low operating system memories but no real test environments. If you need to simulate complex environments you will need to add together all the minimum memory requirements of the test virtual machines. |

|
On the Configure Networking page, assign a network connection to the computer. I selected my configured External Network Connection, which allows the virtual machine to use the physical network interface, but we will explore this section when we will configure the virtual network of the generated test system. |

|
On the Connect Virtual Hard Disk page, the default settings are ok for now. We are not planning to full up the virtual hard disks to their maximum capacity and the default settings will only use as much storage as it is required for the actual data on the virtual disk. Be aware that these can also add up quickly and snapshots are also stored here. So, select a large enough storage space. This is partially the reason why I selected D:\Hyper-V\ate as base directory for my virtual machine. |
|
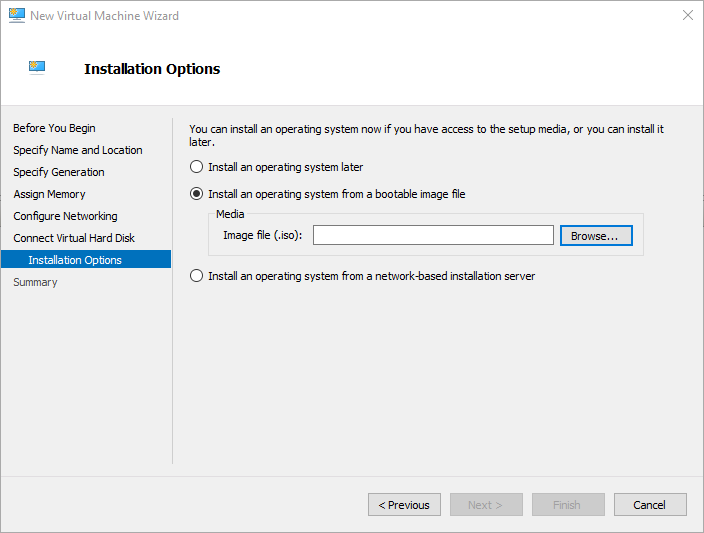
On the Installation Options, select the ISO file for the installer of the operating system. |
|
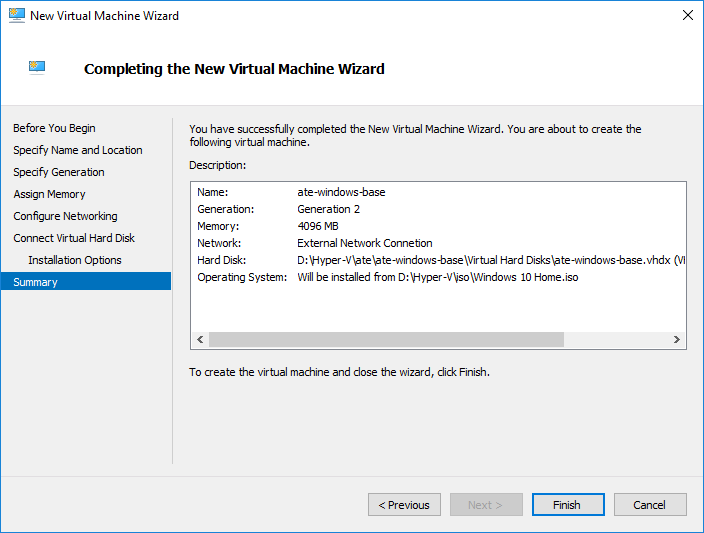
On the Completing the New Virtual Machine Wizard page, check the information and click Finish if you find no errors. |
Next time, we are going to explore the installation of the operating system before we take a deep dive in figuring out how to automate the environment generation.
You can connect with me on LinkedIn, Twitter or you can register on the blog. Share if you found this article useful or know somebody who would benefit from reading it.
No comments yet.