In the previous two parts of this series, Downloading Windows 10 ISO From Microsoft – in 10 easy steps and Creating a Hyper-V Virtual Machine for Automatic Test Environments, we downloaded the Windows 10 installer and created a virtual machine for its installation. Now it is time to install it for creating a base image to play in our automatic environment.
When we created the virtual machine, we set up its optical drive to contain the Windows installer, so the first step in installing the operating system is to turn on the virtual machine. However, before you do that, make sure that you connect to your virtual machine, because the Windows installer will pop up a question about booting from the optical drive and you will need to press a key to do so. This option is time limited, so if you don’t see the virtual machine screen, you can easily wonder why it is not booting from the installation media. After that, follow these steps:
|
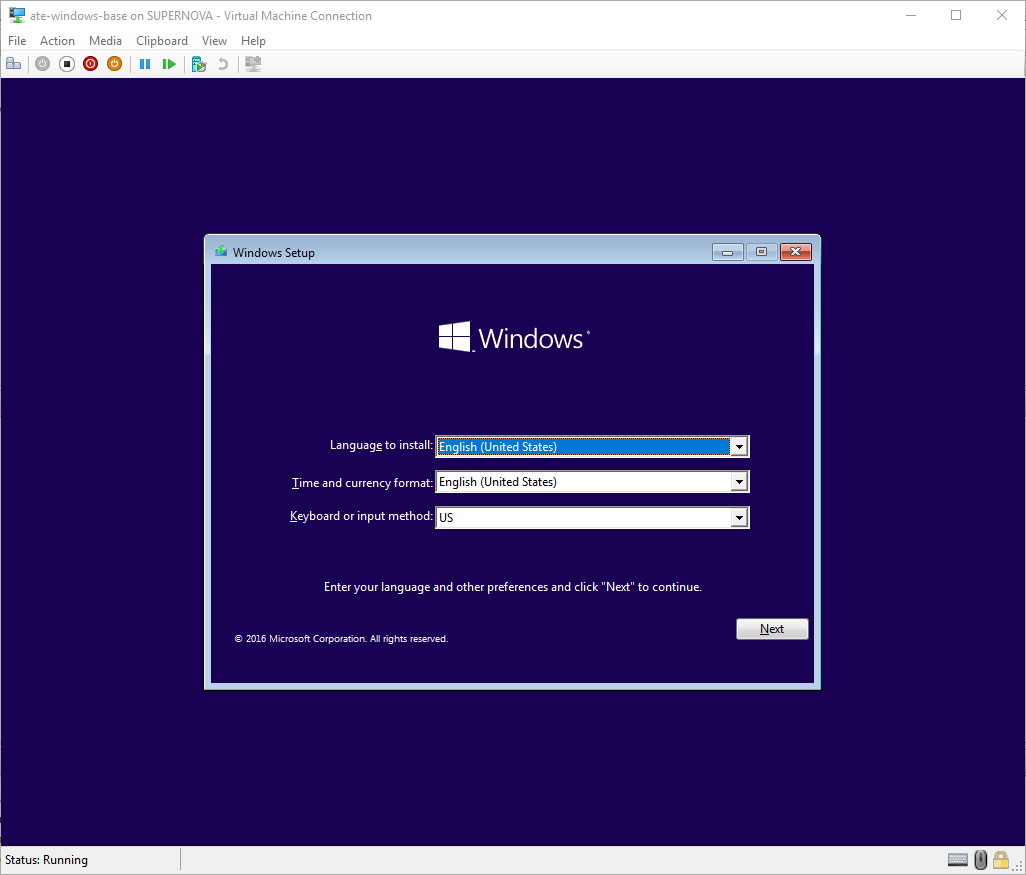
Select the Language, Time and currency format, and Keyboard or input method you prefer and press Next to continue. |
|
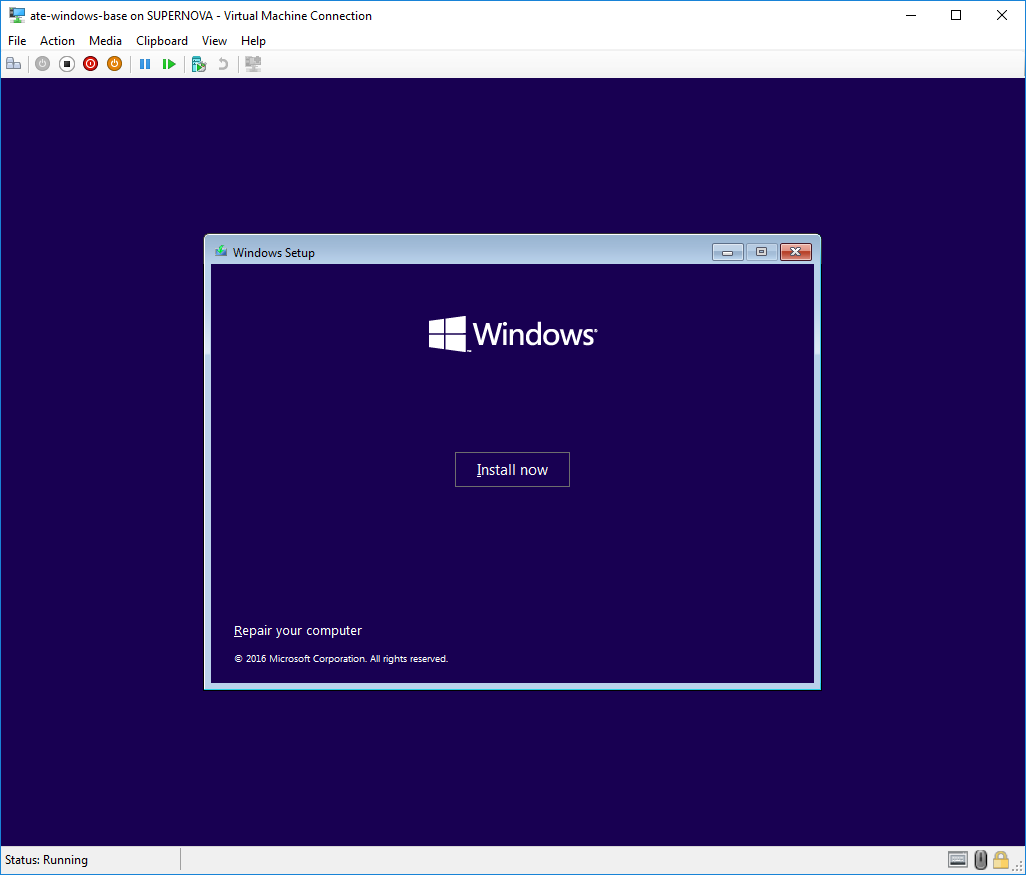
Press the Install now button. |
|
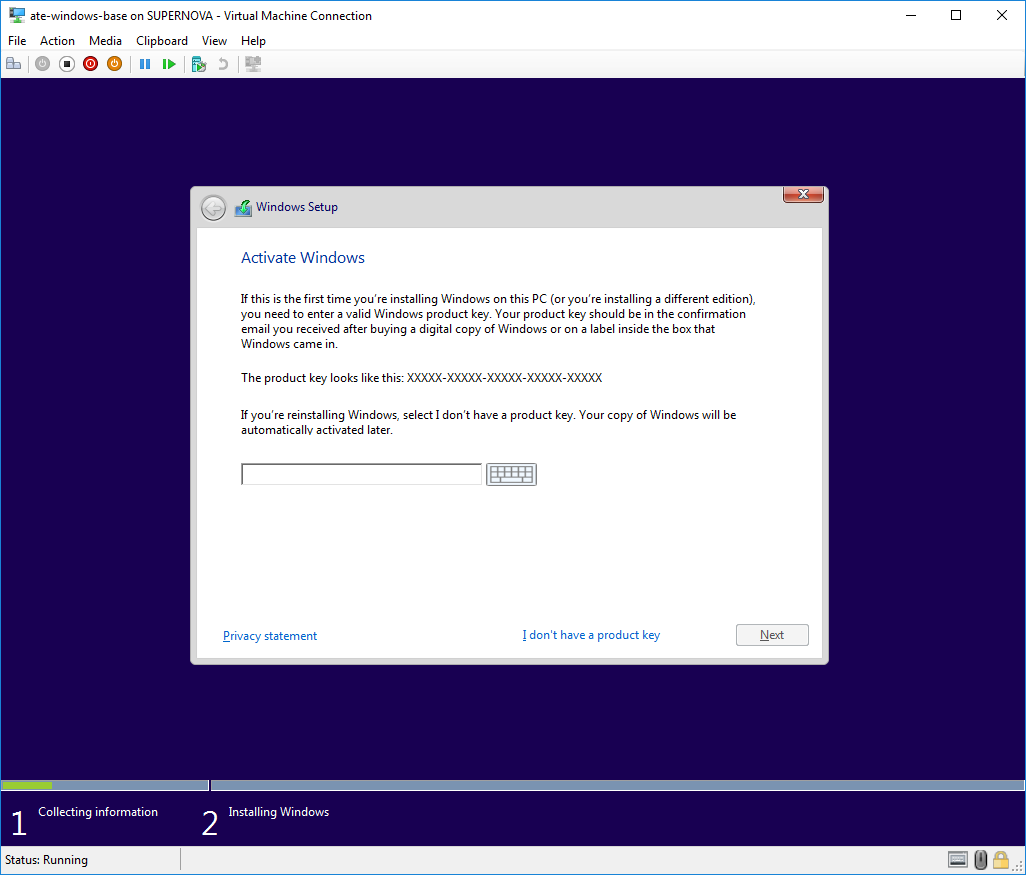
Either enter your license key into the field, or press the I don’t have a product key button to activate windows later. |
|
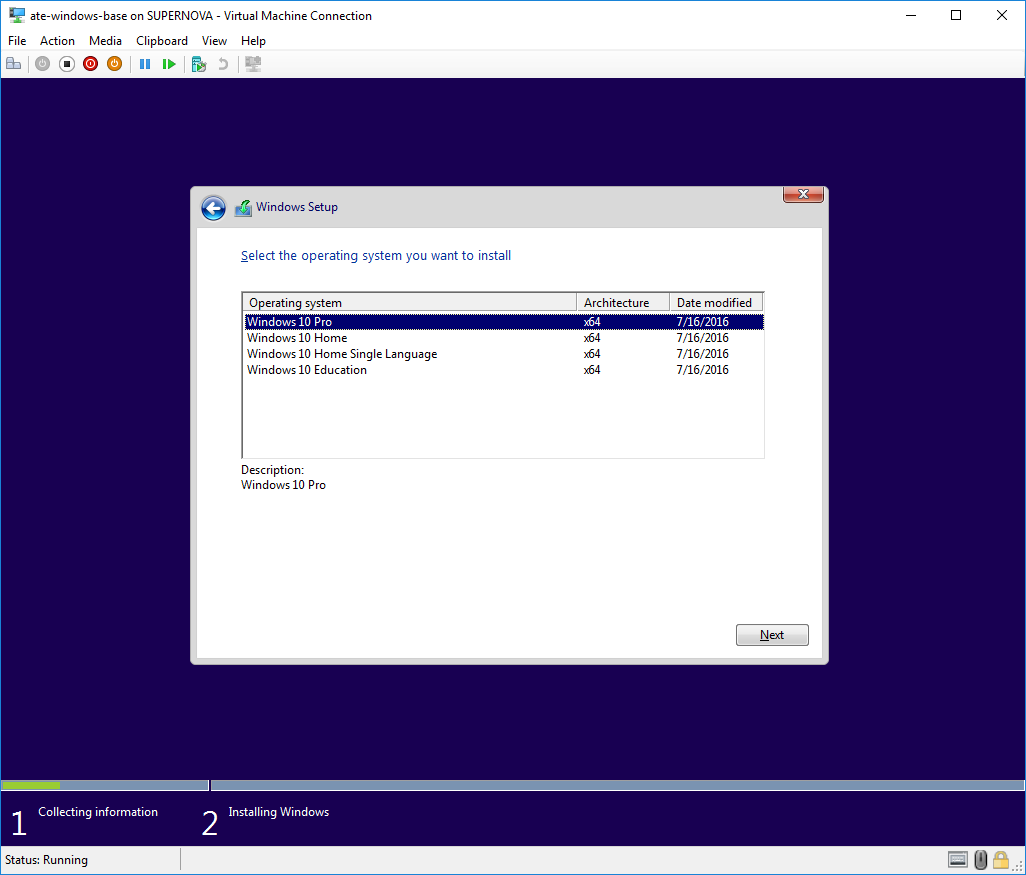
Select the operating system version that you install and press Next. |

|
Read the software license terms, tick the I accept the license terms checkbox and click Next to continue. |
|
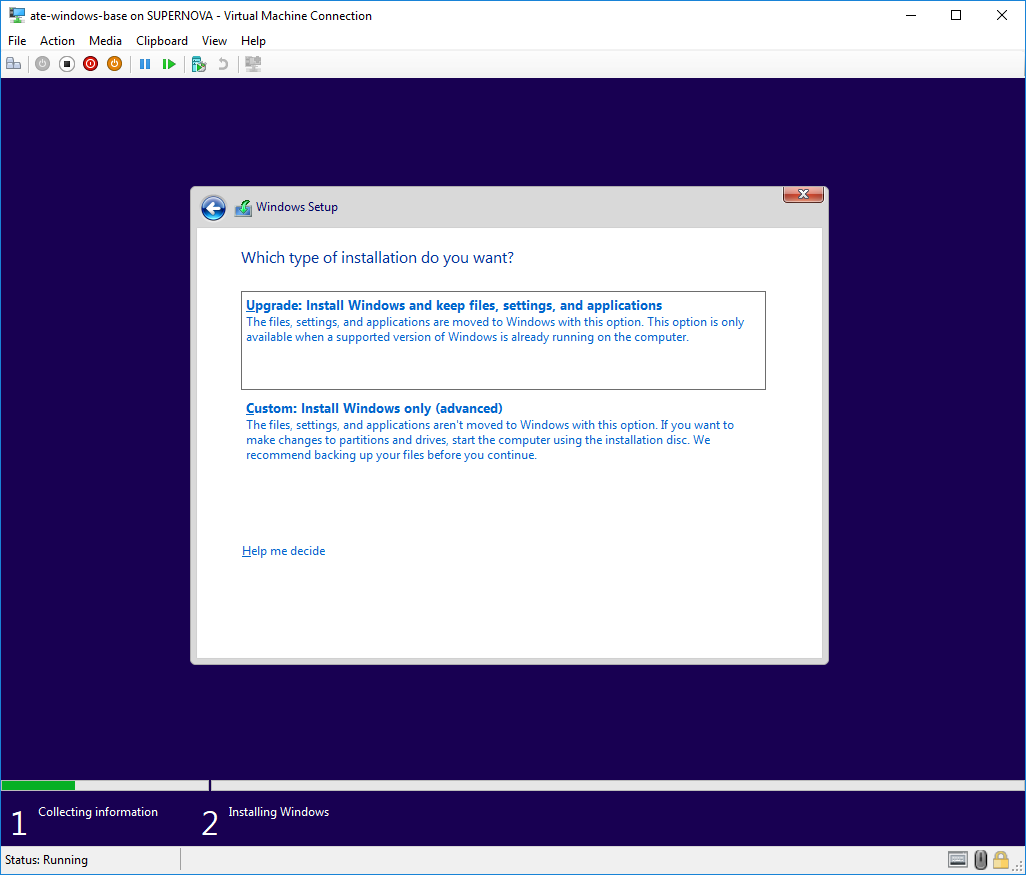
Select the Custom: Install Windows only (advanced) option. The Upgrade option tells you under the button, that it is only available if there is an already installed version of Windows on your computer. Furthermore, it will check that there is none if you click on it and will complain. Here is a software quality question: If the checking algorithm is there, why is not being run before asking and even not offering the choice when it is not available? |

|
Select Drive 0 Unallocated Space as installation target and press Next to continue. |
|
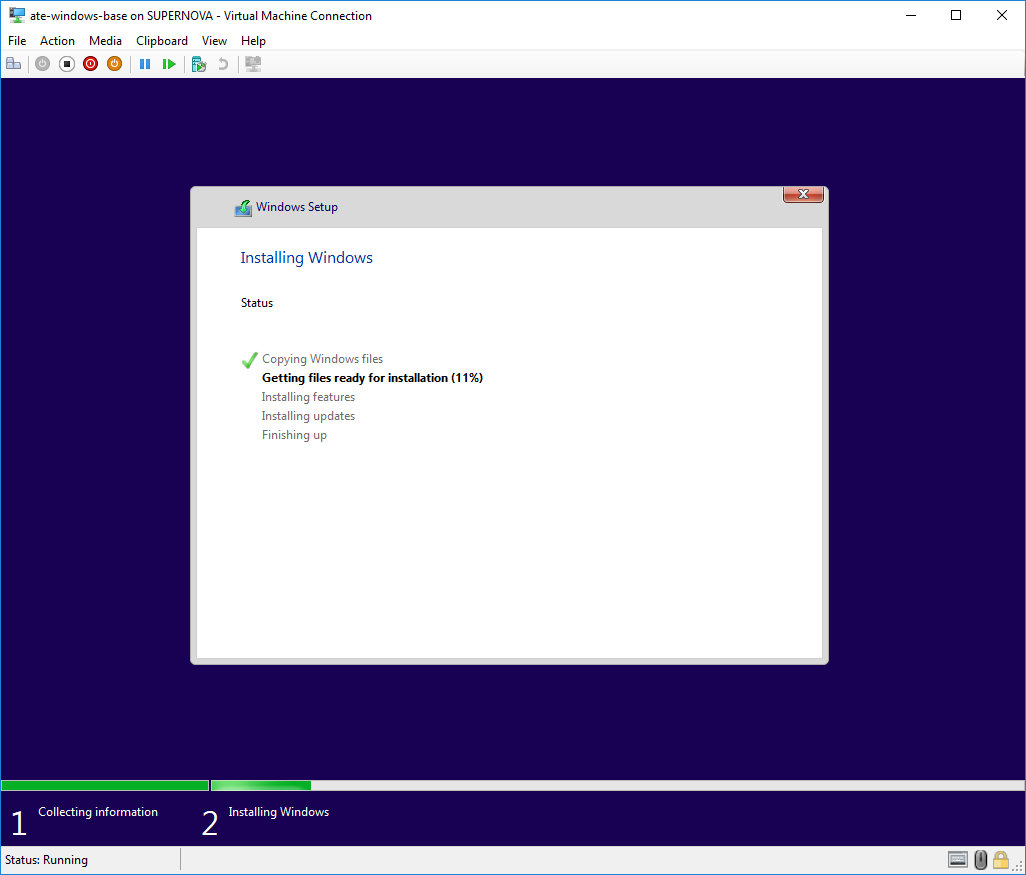
Wait until the installation procedure finishes. When the installer decided that it is time to reboot the computer, it told me that it will do so, waited a bit, then presented a blank screen and then stuck there. At this point switching off the power of the virtual machine and turning it back on helped. |
|
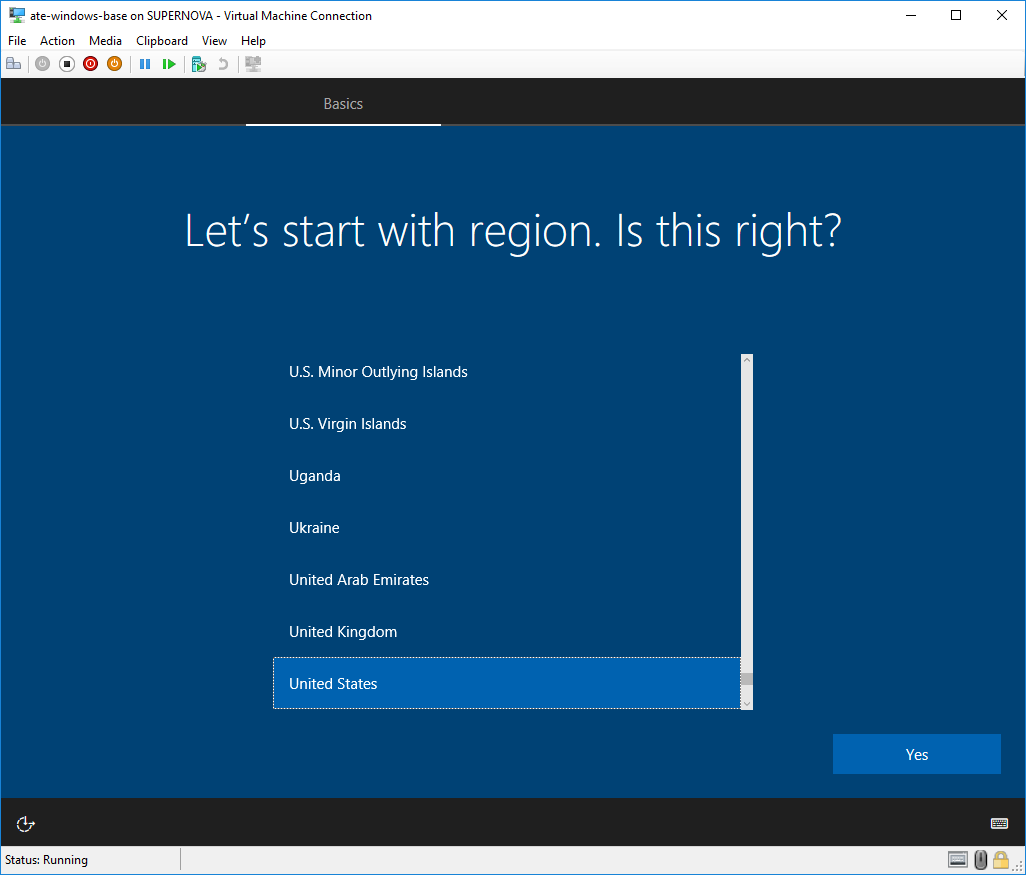
After the installation procedure finished, select the region you are in and press Yes. |
|
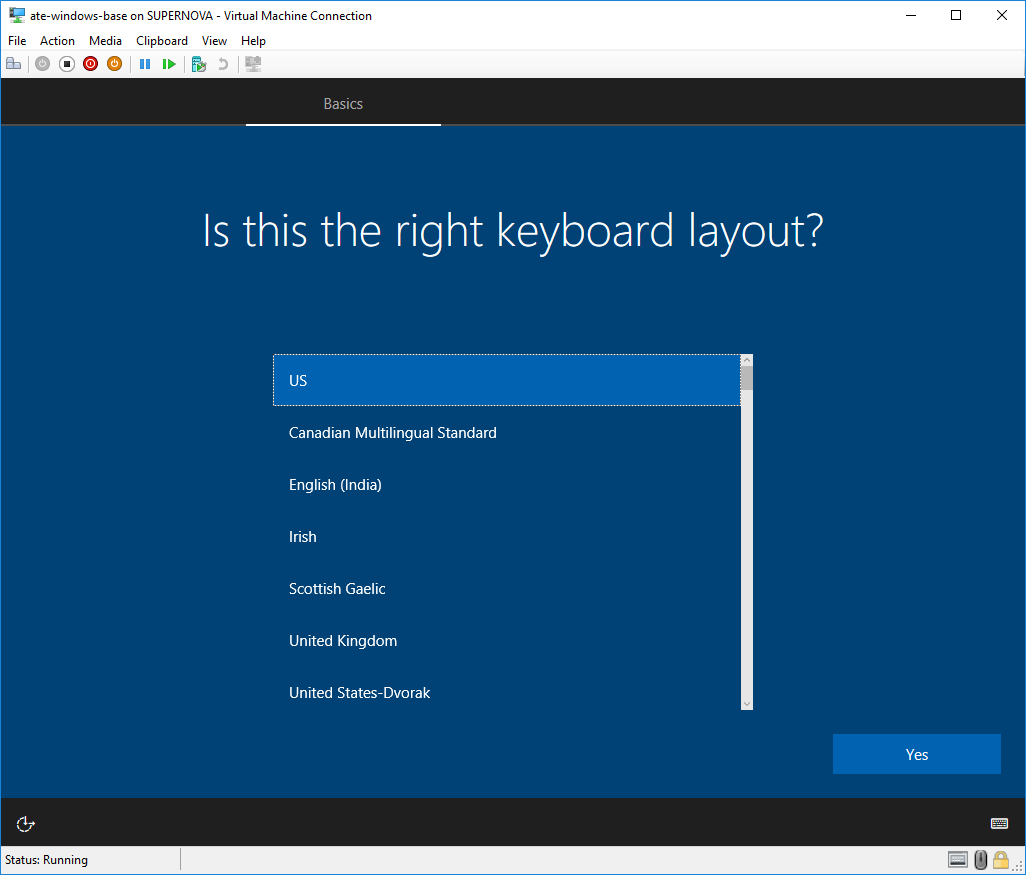
Select the right keyboard layout and press Yes. |
|
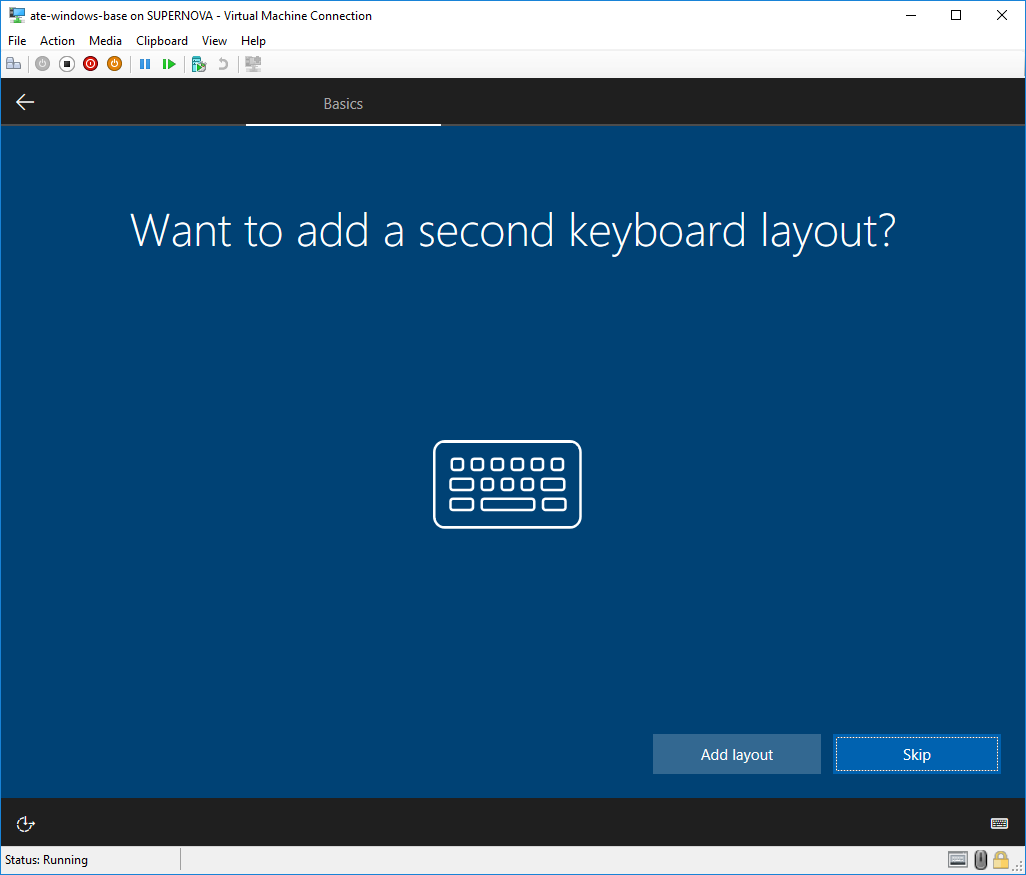
Select Skip for adding a second keyboard layout. |
|
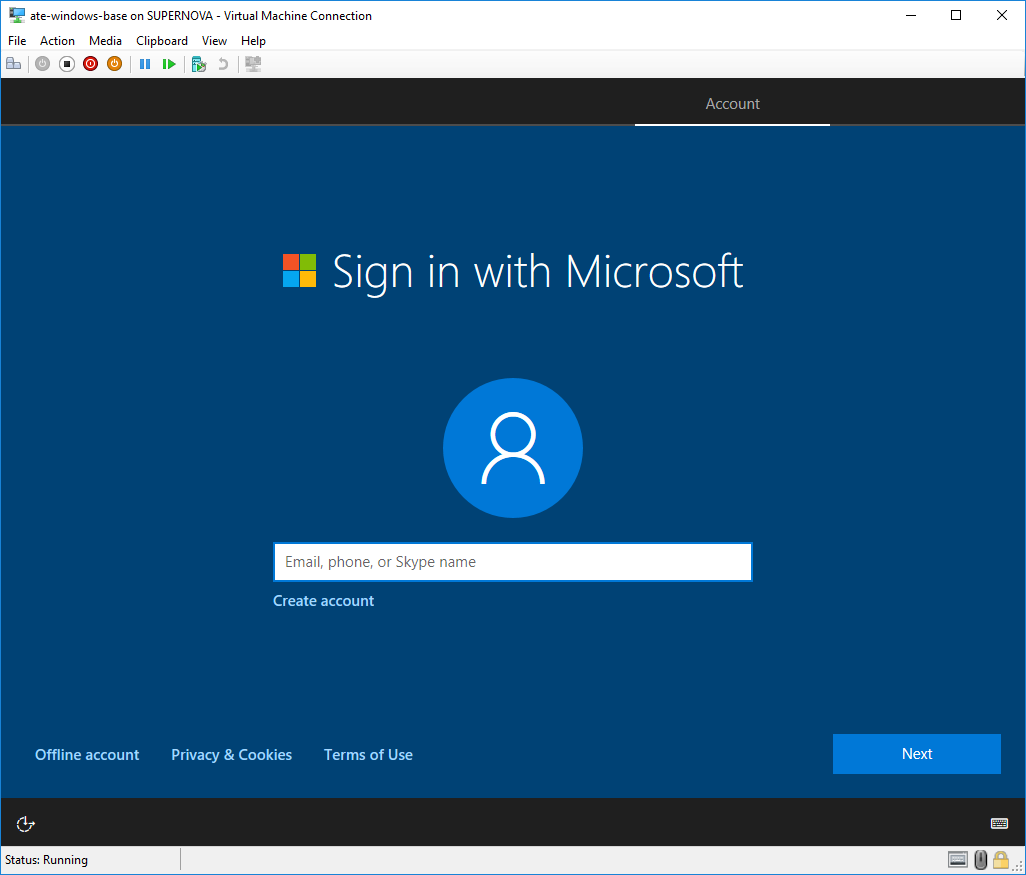
On the Sign in with Microsoft window, select the Offline Account option. |
|
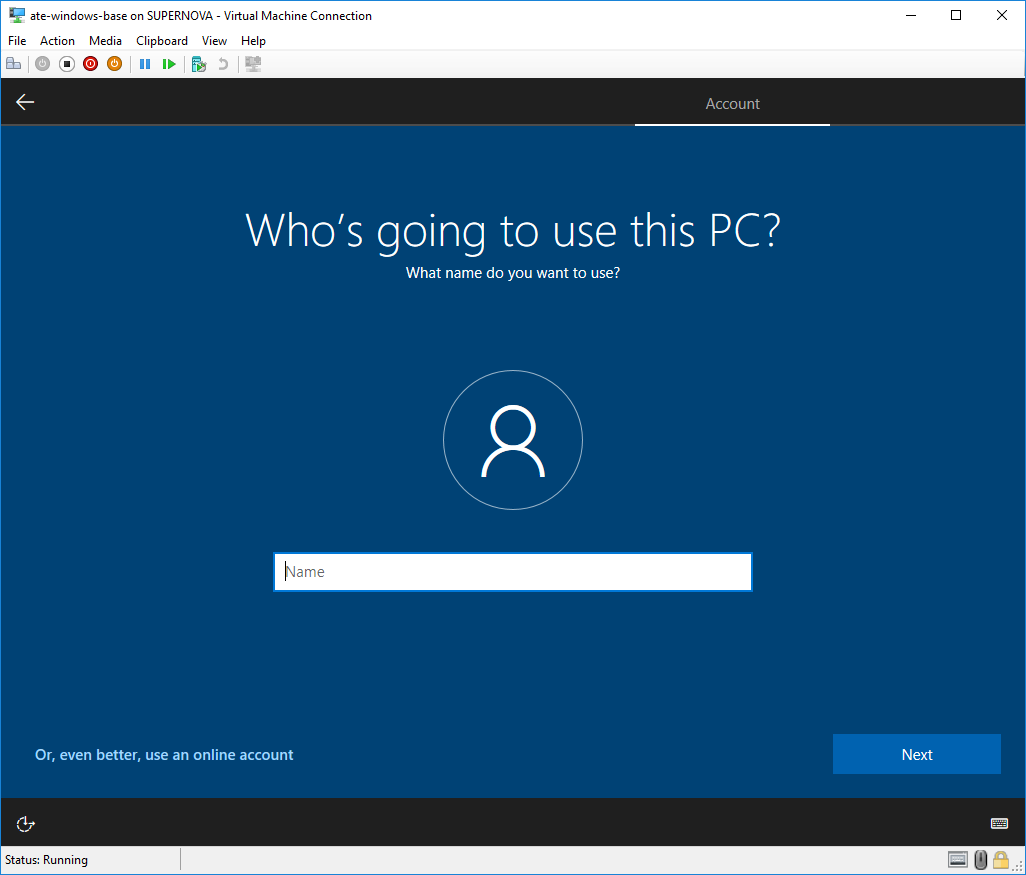
Enter your username and press Next. |

|
Enter your password and press Next again. If you don’t want any passwords, which can be handy in test environments, just press Next without entering any. |
|
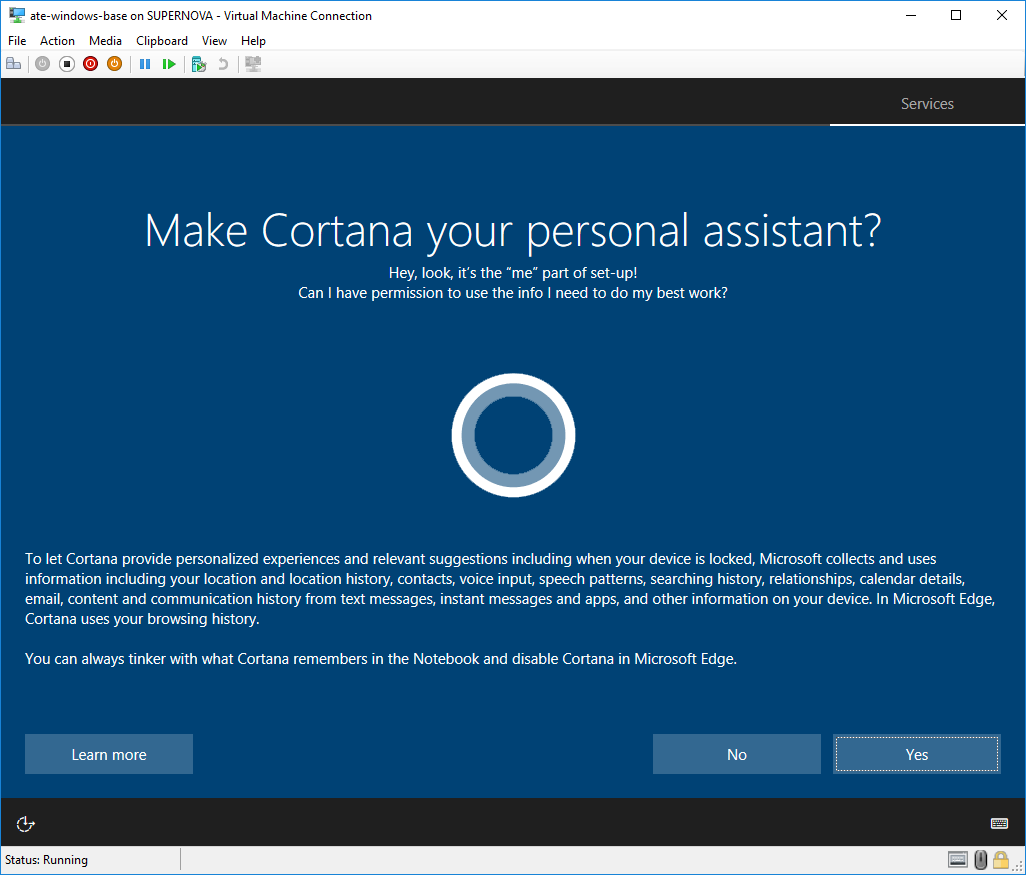
Click No on the Make Cortana your personal assistant screen. |

|
On the Choose privacy settings for your device screen switch everything to Off state and press Accept to continue. |

|
When Windows is ready on the Networks pane click Yes and then power off the operating system. After the machine is off, create a checkpoint in the Hyper-V manager for the machine and we are ready to go for the next phase of the experiment. |
You can connect with me on LinkedIn, Twitter or you can register on the blog. Share if you found this article useful or know somebody who would benefit from reading it.
No comments yet.